Listen to this article in audio form! It’s #7 in the Team Roping Tips Podcast.
For the latest episodes subscribe on iTunes or your favorite podcast app.
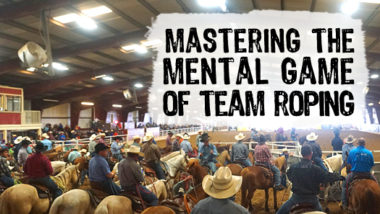
Frustrated. Confused. Unsure. Unconfident.
These are just a few examples of how we can feel when we’re struggling to catch consistently.
Our loop might feel good, but just isn’t working. Or we may make some catches, but don’t have a clear vision of what we’re doing and what must be done to be more quick & consistent.
How many times have you seen a picture of a head loop that you knew had no way of coming off, or have seen a big, open heel loop that has a steer roped deep up in the flanks, and wondered how you make your loop work like that?
Creating consistent catches requires us to understand the basics of how our loop works, as well as how our loop reacts to our hand during our delivery.
Even though our loop is made up of one piece of rope, we’re using it in several different ways that are all dynamic, but also dependent on each other.
In our delivery, we’re specifically providing direction to our rope tip, top strand, and bottom strand. Our loop is just and extension of our arm and mimics our actions.
Each part is just as equally important as the other, and when we understand specifically how each part functions, we then can combine our mental understanding with our physical ability to intentionally increase our overall catch percentage.
“If we only rely just on natural ability, then we put a ceiling on our growth.”
– Kory Koontz
Once we gain clarity on any adjustments we need to make, roping the Bones dummy or Heel-O-Matic sled is a great way to slow things down so we can teach our brain and muscles the correct actions to increase our catches.
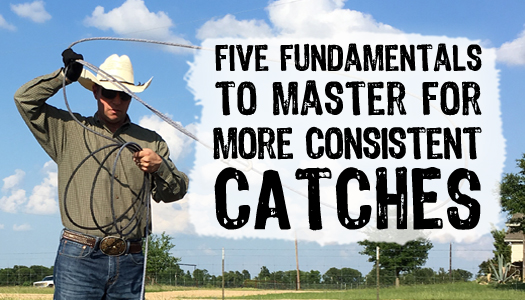
HAND POSITION
Think of your hand like an airplane in flight. If we tilt our hand in any direction, we change the trajectory. The slightest movement can be the difference in a catch or a miss in our roping. We have to cover our entire target not only from side-to-side, but also from top-to-bottom.
Our hand position during our delivery is what guides our rope into position. Remember, when we release our rope, we are “placing” it, not throwing it.
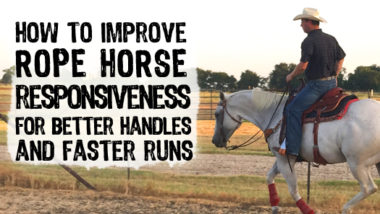
HORSE POSITION
Horse position also plays a big part in our delivery.
Being too close, too far back, or too much to one side of the steer or the other can cause us short change our delivery. By always riding to our comfort spot and getting the same visual every time, we can develop a consistent site picture of our target.
TIP
The tip of our rope is what directs our rope to our target, and also carries a lot of the momentum of our loop to carry all the way through our delivery.
We always want our tip to be going towards our target, but with downward momentum. If we are too far behind our target, we can unintentionally lift the tip of our rope, causing our loop to go above our target.
The amount of spoke (the amount of rope between our hand and honda) we have in our loop can affect the way the tip feels to us. The shorter the spoke in our loop, the more tip feel we have. The longer the spoke in our loop, the less tip feel we have.
BOTTOM STRAND
The bottom strand of our rope is really the foundation for our loop and is directed from the bottom part of our hand in our delivery.
By keeping our hand straight up and down in our delivery, we can place our bottom strand into the correct position. For heading this is under the right horn, and for heeling we need to place the bottom strand on the ground.
If the bottom of our hand is tilted out in our delivery, our bottom strand is going to kick out when we try to place it on the ground. When we flatten out our hand, we make the top and bottom strands more parallel to each other, which makes it difficult to have our loop stay open in our delivery.
For heelers, this may cause us to only rope one leg, or to just wrap the steers legs and end up with nothing. While for headers, the rope will want to skip across the horns.
TOP STRAND
The top strand of our rope works together with the bottom strand to cover our target vertically and is guided by the top part of our hand.
When heeling, we want out top strand up in the hock area. Again, by keeping our hand vertical in our delivery, we ensure we cover a bigger area for the steer to hop into.
The same goes for headers. We need to get the rope over the left horn before we turn our wrist over to close our loop and have the curl come up over the back of the head.
An easy way to remember the position of our hand during our delivery is to think of it like shaking someone’s hand. Our arm is stretched out in front of us and our hand is vertical.
In summary, we want our rope to work for us, and it can do that when we understand these basic fundamentals for how our loop responds to our guidance, as well as allows our delivery enough time to cover our target before we get our slack.
When we build a solid foundation and create good habits in our roping fundamentals, we can positively reinforce our muscle memory and will be able to depend on it in competition when we need it most.
If you’d like more support beyond what I shared today, click here to learn about video coaching and be sure you’re subscribed to receive new roping tips when they’re published here at CraigSmithTeamRoping.com.